So, I've been doing some research lately on Pinterest to get ideas for a newborn photo shoot. When I gave birth to Max, we were bombarded shortly after with the opportunity to have photos taken by Bella Baby Photography during our hospital stay. Though the pictures were beautiful, they cost an arm and a leg considering the shoot lasted all of about 10 minutes total.
During Max's first year of life I tried so hard to capture every sweet moment, albeit on my iPhone... but as he became more and more mobile, I realized that the quality of the photos I was taking began to get worse and worse.
After a little saving, and pleading with my husband, I finally purchased a really nice camera.
Truth be told, I am certainly not a professional photographer. My skills are novice at best, but the more I play around with my camera, the more comfortable I feel with it, and the results are starting to show.
Considering the fact that I do have pretty abundant faith in my crafting/DIY abilities, I have been taking some time lately to focus on newborn photo shoot props.
I have seen some photos I really like with sweet slumbering infants wearing tutus and dainty floral headbands (I'll save that for another post), so I decided that with the hundreds of thousands of tutorials available online, it couldn't be that hard to make a DIY tutu... Boy was I right.
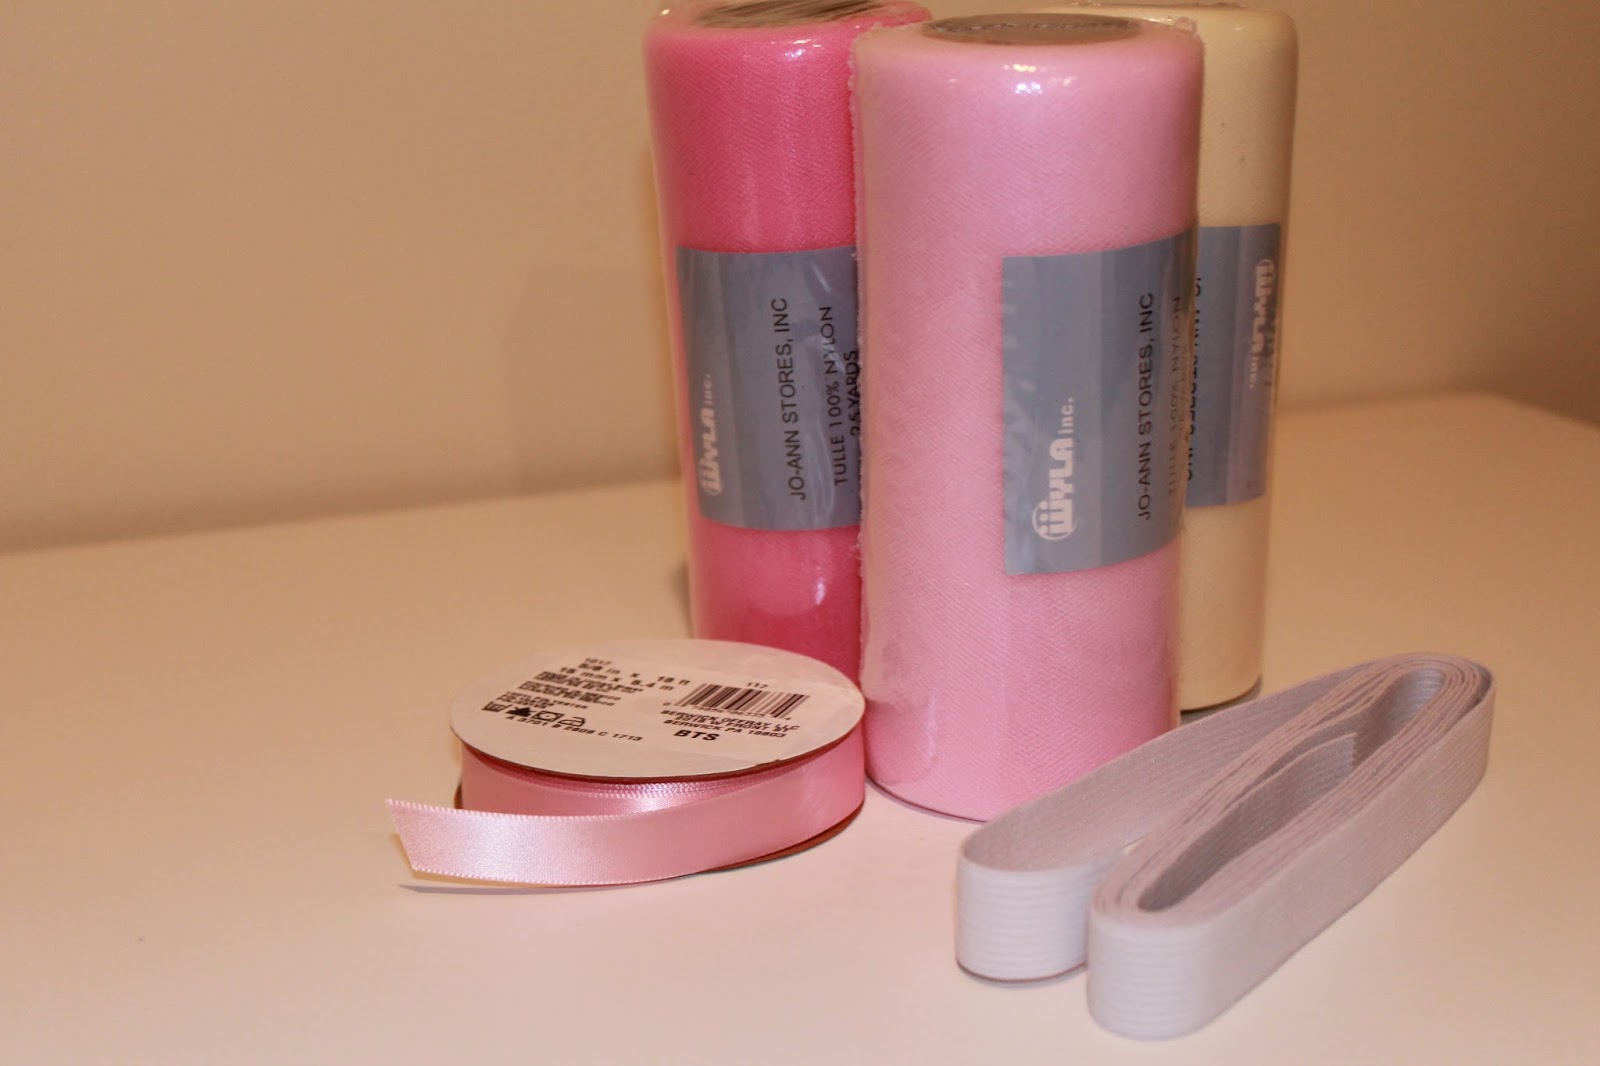
From there, I cut the elastic band. From the research I did, 15 inches in length should fit a newborn waist, but I cut my piece to be 16 inches long to allow for the overlap where I would be sewing it together.
I used my sewing machine to sew the elastic into a loop, but this could honestly be done by hand.
Then I began cutting my tulle into strips. I made each of my strips 20 inches in length. I wasn't sure exactly how many strips I would need, so I just kept cutting, and once I began tying them on to the elastic, if it looked like I needed more, then I simply cut more. I want to say I used about 12 strips of each color, give or take, around 36 strips total.
To tie the tulle to the elastic band, I folded each strip in half and used a simple slip knot all the way around the elastic band.
When I did this, I cut a 30 inch length of the coordinating pink ribbon that I intended to use for the bow and tied the tulle strips around the ribbon and the elastic at the same time. In hindsight, I think I could have skipped doing that, and just tied the bow on at the end... I suppose I'll try that next time!
Once the ribbon was tied in a bow, and the elastic band was completely covered in the tulle all the way around, I fluffed up the skirt, and tada... super easy and cute tutu!
Hopefully in the not too distant future, I will be posting the results of our little lady's photo shoot, and you will get the chance to see her wearing it!


No comments:
Post a Comment