If you weren't already aware, I am a HUGE advocate for shopping small. There are so many amazing small handmade businesses out there, many of which are run by super talented mamas, that offer a wide array of high quality products, and I love supporting them.
One of our favorite new small business discoveries is Little Beasties Shop. Jess, the owner, makes the sweetest handmade plush toys out of fabric and felt. Her work is incredible, and her creativity is second to none... just check out this awesome Felt Garden Set.

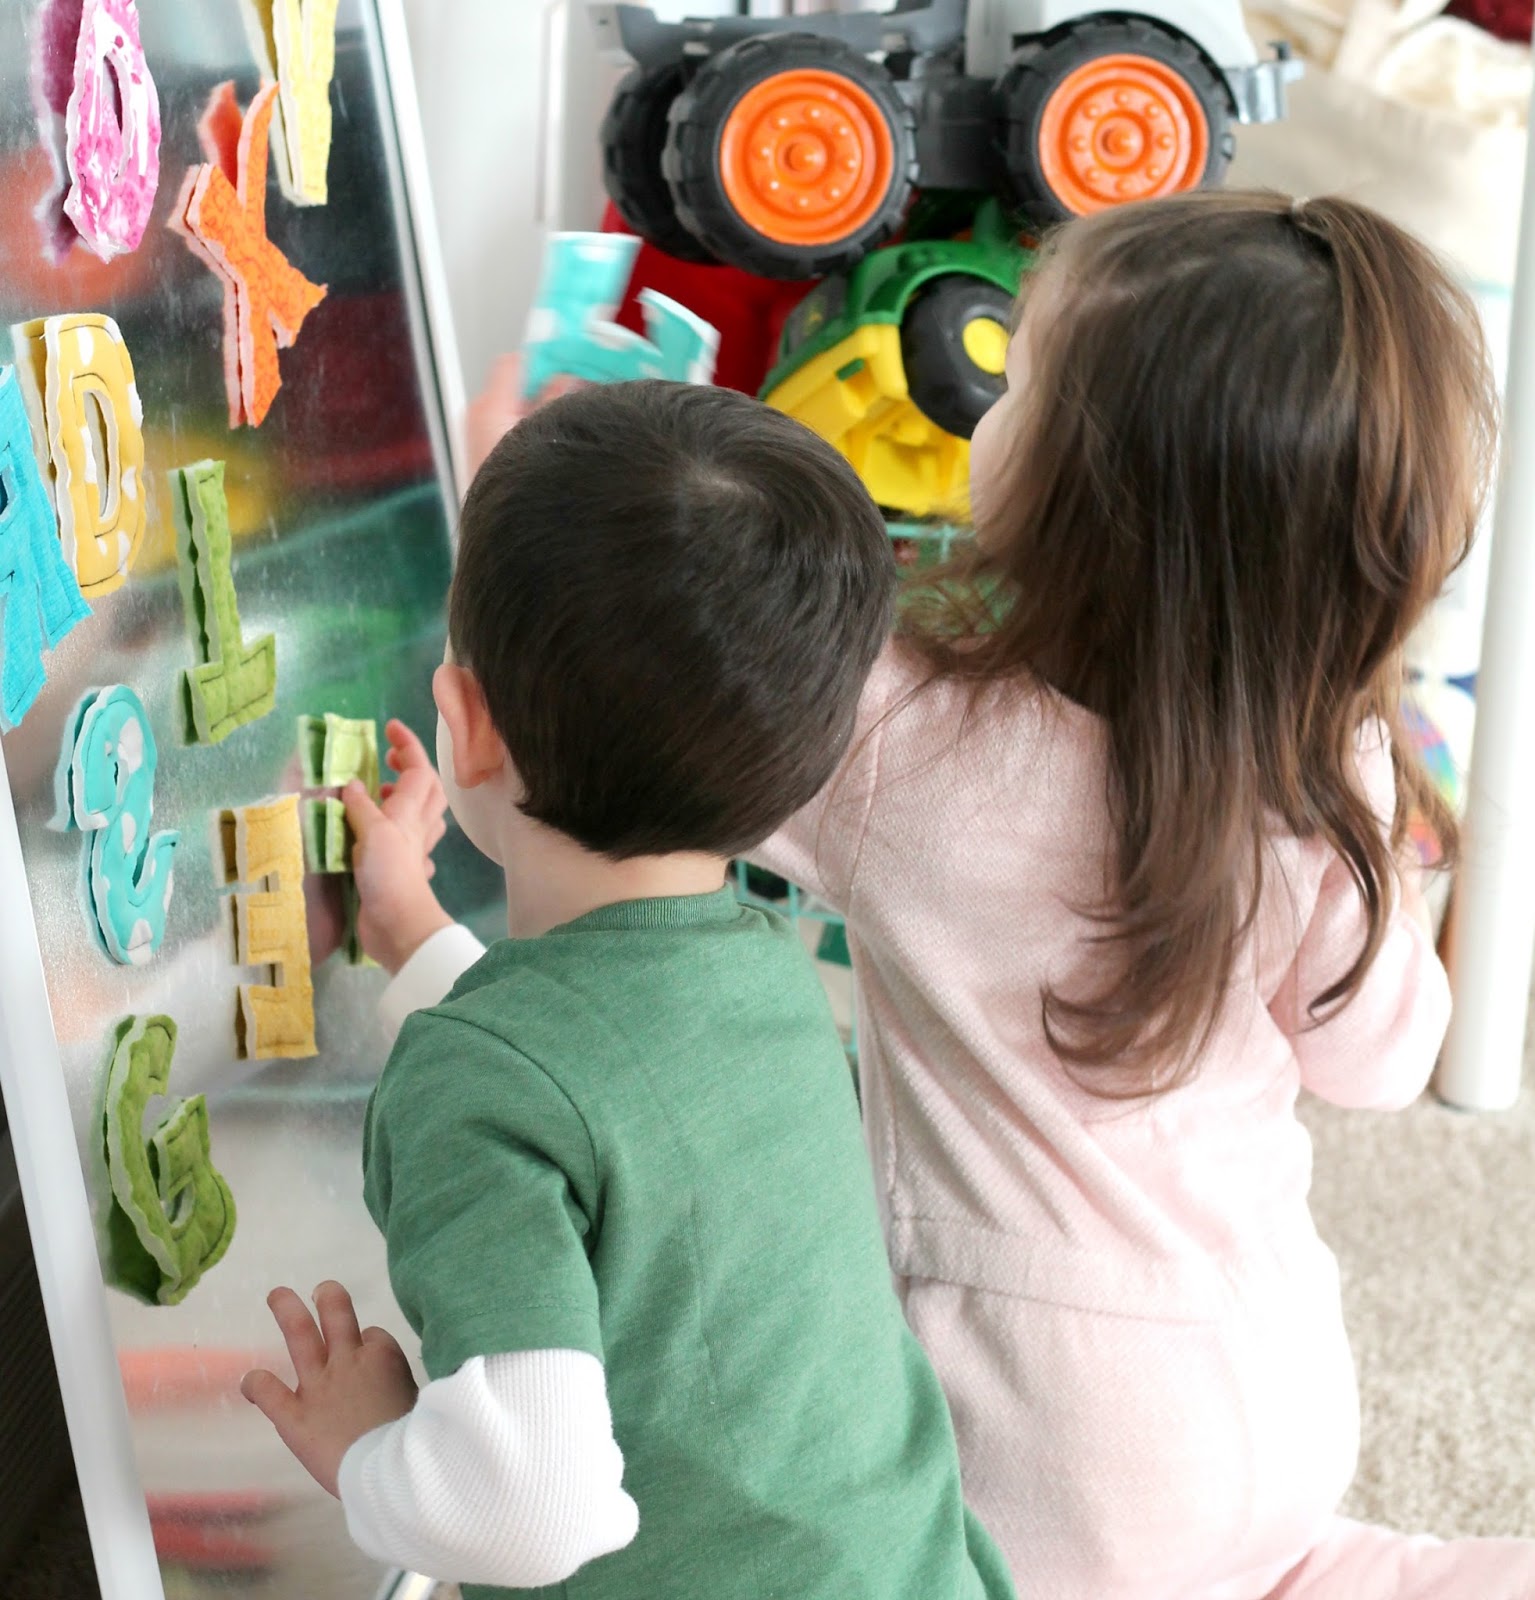
Recently, Jess was kind enough to send over a set of her Magnetic Alphabet Letters, which naturally were a huge hit with Max and Ella!

The letters are sewn using super soft and bright colored (our favorite) flannel fabric, they are slightly plush, and there are magnets inside, making them perfect to use on your refrigerator, or any magnetic surface. Their size is perfect for little hands, and we had so much fun practicing our ABC's and spelling out words while we played with them.

The quality of these letters is impressive, and I could instantly tell that they were durable enough to withstand the roughness of toddlers/little ones, so I know they are a toy that we will have around for a long time.
Seeing as our refrigerator is stainless steel... aka non-magnetic, our amazing new set of letters from Little Beasties Shop got me to thinking about adding a decent sized magnet board to our playroom.
M&E received a set of magnetic animals for Christmas, and now this set of alphabet letters, so I just knew a magnet board would be the perfect way to display and play with our new toys.

I originally considered using magnetic paint to make a board that could also serve as a chalkboard, but after reading numerous reviews, the magnetic paint sounded like it might be more trouble than it was worth, so I enlisted my husband to help me, and we came up with a much, much easier DIY project.

I purchased the materials at Home Depot and Michael's (using a coupon), and have linked them below. The entire project cost just over $25.
If you're interested in making a 24"x 36" magnet board like the one pictured in this post, you will need the following materials:
24 inch x 36 inch frame (I purchased this one on white, using a 40% off coupon)
To make the magnet board, we simply removed the cardboard backing from the frame, as well as the layer of plastic that would normally cover the photo/poster going into the frame. We then used the cardboard backing as a template, and using a marker, we marked what would need to be trimmed from the metal sheet, in order for it to fit in the frame. It was less than 1/4 inch that needed to be trimmed from both the length and width, and the metal was easy to cut, using just a pair of kitchen scissors.
Then we popped the metal sheet into the frame, and replaced the cardboard backing... and that was it!

A super fun addition to our playroom, and the perfect place to play with our alphabet letters from Little Beasties Shop!


No comments:
Post a Comment